Pages

Saturday, January 11, 2014

Oreo Truffles

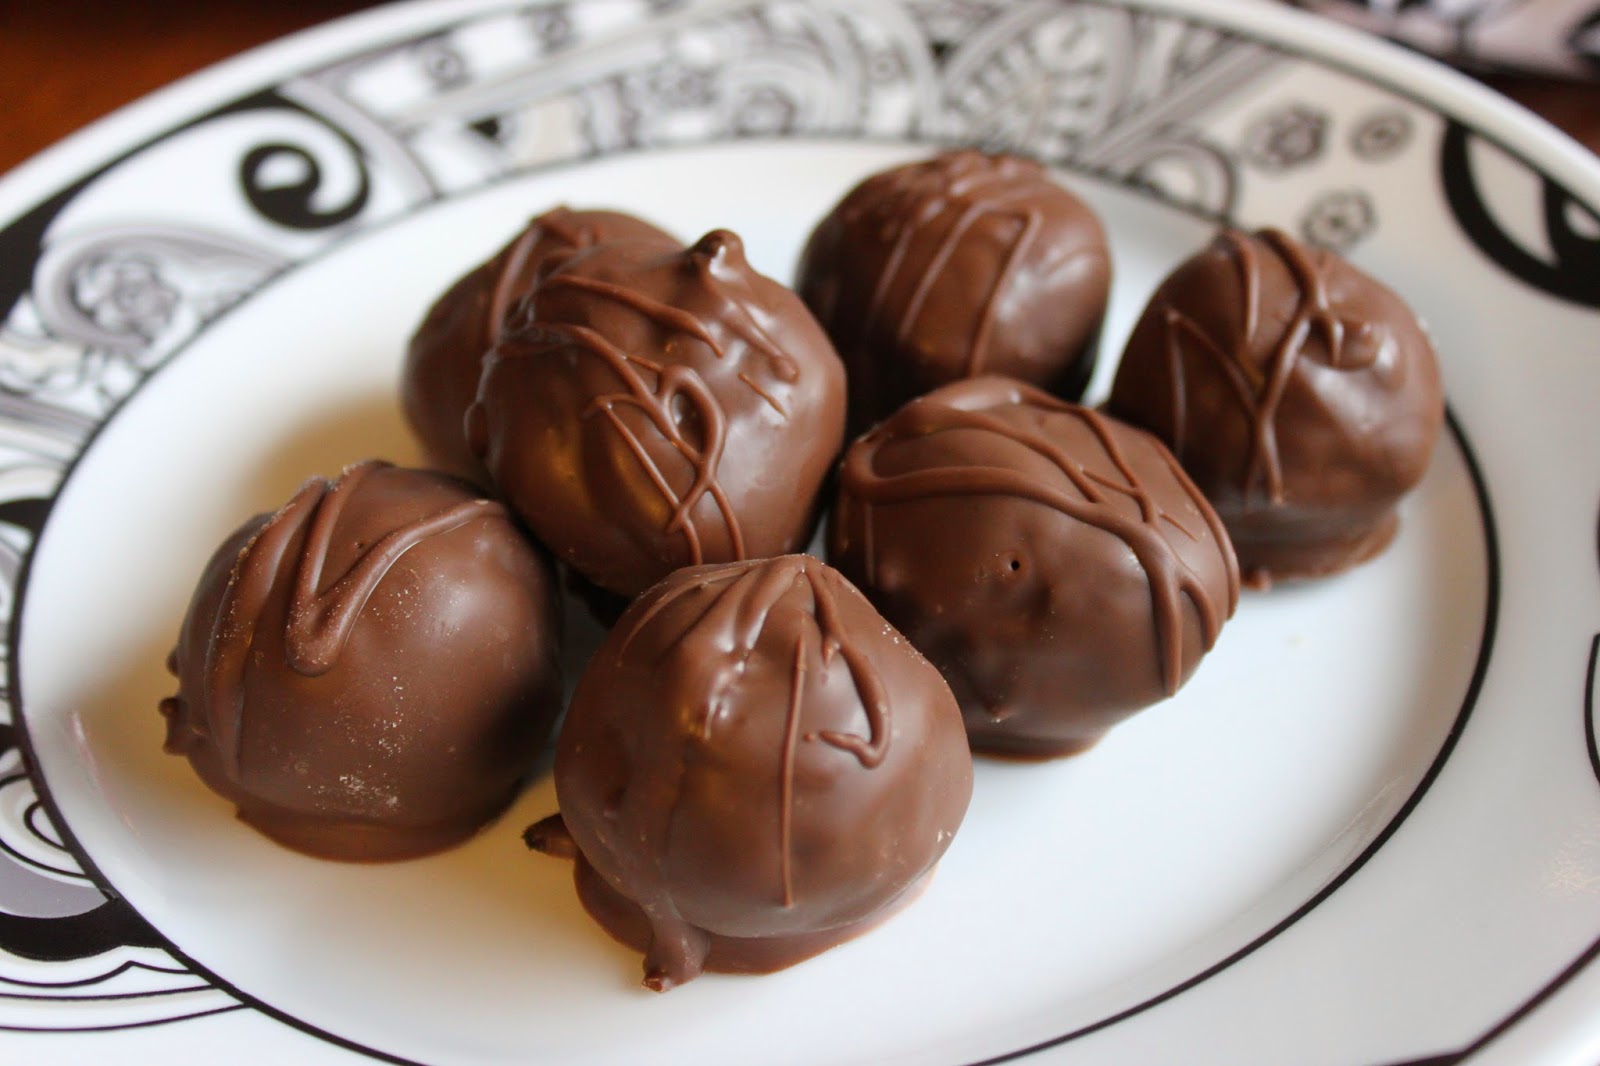
Looking for a simple bite-sized dessert that everyone will love? Then these are for you.
I admit it, I'm an idiot and didn't even bother taking a picture of the inside! To be fair, I normally do not see the inside because I eat them whole...

These Oreo truffles are probably one of the easiest desserts I have made, but also one that I am required to make every Christmas (with a special batch just for my mother-in-law).

Having a food processor makes the whole thing even easier! Although, crushing them using a plastic bag and a rolling pin is much more cathartic.

Make these, and you will not regret it (although your waistline might)!

I recently made a batch of these into truffle pops (basically put them on a stick) for my brother's 30th birthday party (man is he getting old)! The theme was my mom's idea... 30 sucks! So I shaped them into suckers, of course.


oreo truffles
{makes about 48 truffles)

Ingredients

  • 1 package Oreos 
  • 1 (8 ounce) package cream cheese, softened
  • 16 ounces chocolate (I use dark, milk and white) 
  • Shortening (to thin out chocolate)

Directions

  1. Food process (or crush in a large Ziploc-type bag) Oreos until they are fine crumbs.
  2. In large bowl, combine crushed Oreos and cream cheese until well mixed (I often use my mixer to make this process faster too).
  3. Create tablespoon-size balls out of Oreo/cream cheese mixture. Place on waxed paper and refrigerate for 20 minutes (or freeze for 10 minutes).
  4. While oreo cream cheese balls are chilling, begin to melt your chocolate over a double boiler. Add shortening 1/2 tablespoon at a time until chocolate is thinned out a little and easily drips off a spoon.
  5. Dip balls into melted chocolate and then return them to waxed paper. Let chocolate set in refrigerator or at room temperature. Store truffles in airtight container in refrigerator.

Saturday, January 4, 2014

Hot Cocoa Cupcakes

What better way to warm up in the middle of a polar vortex than with some hot cocoa? Even better if it's disguised as a delicious cupcake.

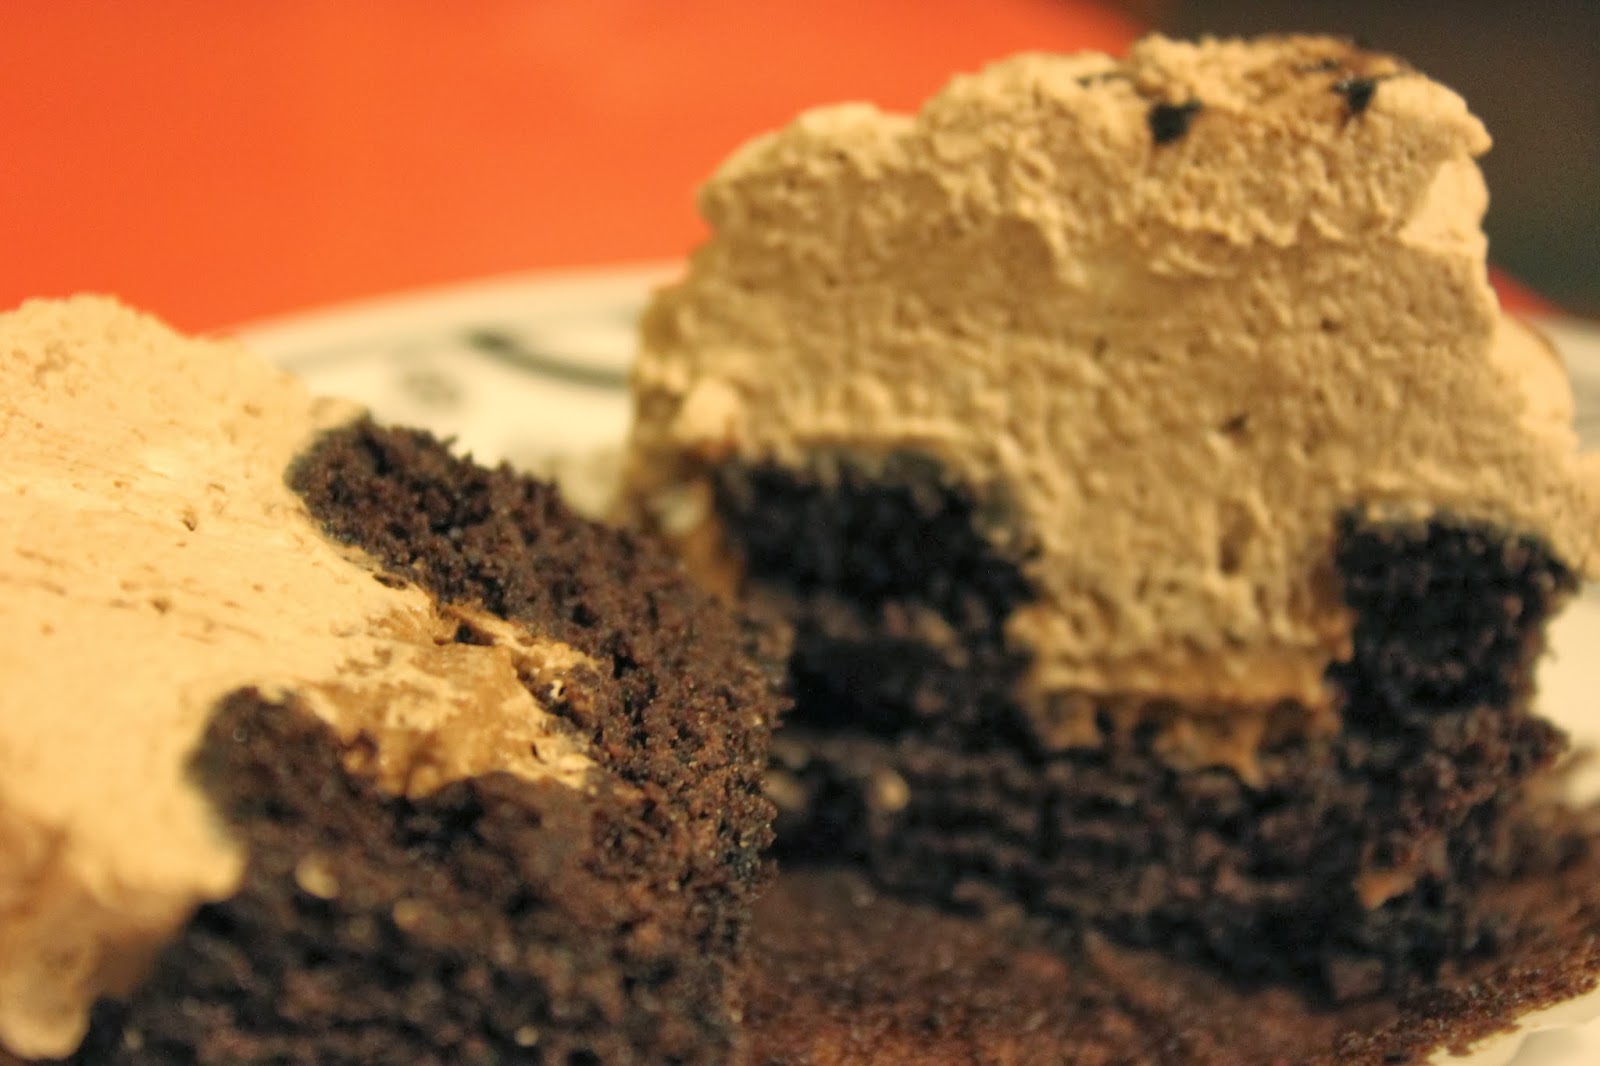
Of course I used the recipe for a moist chocolate cupcake, but I wanted to fill it with the smooth chocolateyness you get from real hot chocolate so I put chocolate mousse inside them. And I like my hot chocolate with whipped cream on top, but to change it up I made a chocolate whipped cream for the frosting. Drizzle with chocolate sauce and I'm in heaven!

The best part is, since the whipped cream recipe calls for hot chocolate mix in it you can easily change up the flavor with whatever mix you use. I used a homemade hot cocoa mix (Alton Brown's recipe), but I know I've had some seriously delicious French vanilla hot chocolate mixes that I'd love to try in it.

To poke a hole for the filling in these cupcakes I simply used the bottom of a pastry tip (see below)....a very easy process!


And don't forget, baking will warm your house right up from all that oven heat!


Enjoy!

hot cocoa cupcakes
{Makes 12 cupcakes}
{hot fudge and cupcake recipe slightly adapted from Tasty Kitchen}

for the hot fudge:


Ingredients
  • 1 cup sugar
  • 1 cup dark cocoa powder
  • 1 pinch salt
  • 2 tablespoons all-purpose flour
  • 1 cup boiling water or scalding milk
  • 1 tablespoon unsalted butter
  • 1 teaspoon vanilla extract
Directions
  1. Combine sugar, cocoa, salt and flour in bowl of double boiler. Bring water or milk to a boil in another saucepan or in the microwave. Gradually add hot liquid to sugar mixture. Stir constantly until mixture thickens
  2. Once desired thickness is reached, remove from heat and stir in butter and vanilla. Use fudge in cupcake batter, as directed (see below), and then to drizzle over baked cupcakes. Store the rest of the sauce in the fridge for 1-2 weeks.


for the cupcakes:

Ingredients
  • 1 large egg
  • 3/4 cup brown sugar
  • 1/2 cup milk
  • 1/2 cup plus 1 tablespoon heavy cream
  • 1/2 cup unsalted butter, melted and cooled
  • 1 teaspoon vanilla extract
  • 2 tablespoons sour cream
  • 1 1/8 cup all-purpose flour
  • 1/4 cup dark cocoa powder
  • 1 1/4 teaspoon baking soda
  • 1/2 teaspoon salt
  • 1/4 cup homemade hot fudge (see above)
Directions
  1. Preheat oven to 350 degrees F. Line a cupcake pan with 12 liners.
  2. In a large bowl, whisk the egg and sugar until smooth and no lumps remain. Add milk, cream, butter and vanilla and mix until combined. Stir in sour cream.
  3. In a separate bowl whisk together flour, cocoa powder, baking soda and salt. Add to wet mixture and mix until batter is smooth. Gently mix in fudge sauce.
  4. Fill cupcake liners with batter about 3/4 full. Bake for 15-18 minutes, or until toothpick comes out clean from the center. Cool cupcakes in pan for about 5 minutes before transferring to cooling rack. Let cool completely before frosting.
for the chocolate mousse:
{recipe from Wilton}

Ingredients
  • 2 eggs, separated
  • 1/2 cup milk
  • 3/4 cup semisweet chocolate chips
  • 1/2 teaspoon vanilla extract
  • 1 1/2 teaspoons liqueur go choice (I used Kahlua)
  • 1/2 cup heavy cream, whipped
Directions
  1. In small saucepan combine egg yolks and milk. Heat over low heat, stirring constantly, until mixture is just about to boil and thick enough to coat spoon. Remove from heat. Stir in chocolate chips, vanilla and liqueur. Continue stirring until chocolate is melted. Cool to room temperature, stirring occasionally.
  2. Beat egg whites until stiff peaks form. Fold gently into chocolate mixture. Fold in whipped cream. Cover and refrigerate until ready to use.

for the chocolate whipped cream:
{recipe from Little Delights Cakes}

Ingredients
  • 2 cups heavy cream
  • 2/3 cup hot cocoa mix
Directions
Using mixer with whisk attachment place heavy cream in mixing bowl. Start on low speed and gradually increase to high speed. Once soft peaks form begin to gradually add hot cocoa mix; mixing until stiff peaks form.

Assembly
Make hole in cooled cupcakes and spoon or pipe in chocolate mousse filling. Frost with chocolate whipped cream as desired. Drizzle with extra hot fudge sauce.


Tuesday, December 31, 2013

Spiked Apple Crisp Shooters

Do you like apple crisp? Do you like alcohol? Then you will LOVE these. Honestly, you can't even taste the alcohol....which may be a dangerous thing, because this is definitely something you may find yourself reaching for again and again. Maybe that's why it was created to be in shooters; that way it is pre-portioned for you and the only one to blame for over indulging is yourself ;). 

Oh, and it doesn't hurt that it just LOOKS pretty. 


And what better night is there to overindulge than New Year's Eve? Hey, those resolutions don't start until tomorrow! 


No one can say no to the mixture of apple crisp, butterscotch and alcohol! Although mine weren't technically served while the apple crisp was still warm, they were no less delicious!

Happy New Year!

spiked apple crisp shooters
{recipe from Betty Crocker}

Ingredients
  • 4 medium tart apples, chopped (about 4 cups)
  • 1/2 cup granulated sugar
  • 1/4 cup packed brown sugar
  • 1 teaspoon ground cinnamon
  • 1/2 cup butterscotch schnapps
  • 1/2 cup unsalted butter, melted
  • 1 pouch (1 lb 1.5 oz) Oatmeal Cookie Mix (I used Betty Crocker)
  • 1 cup whipping cream
  • 1 tablespoon butterscotch schnapps
  • 1 tablespoon powdered sugar
  • caramel topping, if desired
Directions
  1. Preheat oven to 375°F. Spray bottom only of 8-inch square pan with cooking spray.
  2.  In a large bowl, toss apples, granulated sugar, brown sugar, cinnamon and 1/2 cup schnapps. Spread in pan.
  3. In medium bowl, mix melted butter and cookie mix. Spread on top of apples.
  4. Bake 40 minutes.
  5. Meanwhile, in a medium bowl with electric mixer, or using stand mixer with whisk attachment, beat whipping cream, 1 tablespoon schnapps and powdered sugar on medium-high speed until stiff peaks form.
  6. To serve, alternately spoon warm apple crisp and cream mixture into small glasses. Top each with caramel topping, if desired. Serve immediately.


Wednesday, December 25, 2013

Christmas Cupcakes

Merry Christmas everyone! This short post is mainly for Christmas cupcake decoration ideas, but it will also include a recipe for chocolate buttercream! All the major decorations were made out of marshmallow fondant (my recipe can be found here).
I won't lie, making the mistletoe leaves was a pain in the butt. If you have a cutter in that shape things will go much faster! I had to hand shape them because they were too small to try and hand cut. Once I had a system down though it wasn't so bad.
The tree cupcakes were very simple! A swirl of caramel frosting, fondant star on top (I had a star cutter :D so that was easy to do!) and then colorful round sprinkles! Voila!

Below is the chocolate frosting recipe. In case you were wondering about the recipe for the cake portion or the caramel frosting just follow these links:
Hot Fudge Cupcakes
Caramel Frosting (I just used food coloring to dye it green for the trees)

Merry Christmas everyone! 

chocolate buttercream frosting
Makes 3 3/4 cups
{recipe from food.com}

Ingredients

  • 6 tablespoons butter, softened
  • 2 2/3 cups powdered sugar
  • 1/2 cup cocoa powder
  • 1/3 cup milk
  • 1 1/2 teaspoons vanilla extract
Directions 

  1. Place butter in bowl and beat until creamy. 
  2. Add powder sugar and cocoa powder; mix well.
  3. Gradually add milk, mixing after each addition.
  4. Add vanilla and mix until smooth.

Saturday, December 21, 2013

Cut-Out Cookies

What's Christmas without some good ol' cut-out cookies? I must say, I'm a little bit of a cut-out snob. I can only happily eat my mother's recipe for cut-outs. I think it's because they are a sour cream cut-out recipe so they are light and airy versus the regular sugar cookie cut-out. Don't get me wrong, any kind of cut-out is delicious, but these are AMAZING. I can eat them with or without the frosting; even just minutes after they are out of the oven...yum. I am salivating just thinking out it!
I highly recommend doing these with a group of friends or family. This recipe makes A LOT of cut-outs. Like 60 or more depending on the size of your cutter. I'm sure everyone has the same excitement at the start of making cut-outs....they look like utter perfection, but slowly as time passes and you are STILL frosting, they slowly get a little less professional looking and a little more....shall we just say "rushed?" So yes, definitely a good project for a large group. Oh, and if you plan on making lots of colors and intricate designs on your cut-outs you will most likely need to double your frosting.
hoards of cookies....


Here is the step by step process:

Once the dough is made, flour your countertop.

Then knead dough on floured surface until not sticky, adding flour as necessary. You can divide the dough if that is easier (this is only a quarter of the batch).

Roll out dough to 1/8" to 1/4" inch thickness. I usually like mine at 1/4" thickness.

Flour your cookie cutters and start cutting out shapes! I find it easiest to set all the cutters on the dough at once and then remove them all one by one...helps to make the most of the dough!

Then pop them in the oven to bake! An important thing to note about these cookies is that to get them at the perfect texture, they shouldn't really be browned at all....not even the bottoms. Basically do not overbake them and be sure to take them off of the cookie sheets less than a minute after leaving the oven. I mean, they won't be completely ruined if the bottoms browned, but they just will not be as soft as they normally would be.
You are looking for them to look like the one on the far right! In case you were wondering, these were made for someone as a gift for their dentist, hence the teeth!

Then decorate them however you want!


In case you were wondering how those dental cut-outs came out....


Good luck and happy baking!

sour cream cut-out cookies

for the cookies

Ingredients

  • 1 cup unsalted butter, softened
  • 2 cups granulated sugar
  • 2 eggs
  • 1 teaspoon vanilla extract
  • 1 cup sour cream
  • 5 cups all-purpose flour
  • 1/2 teaspoon salt
  • 2 teaspoons baking powder
  • 1 teaspoon baking soda

Directions

  1. Using an electric mixture beat butter and sugar until light and fluffy. Add eggs and beat until smooth. Add sour cream and vanilla. Beat until combined.
  2. In a separate bowl whisk together flour, salt, baking powder and baking soda. Gradually combine dry mixture into butter mixture until blended. Cover dough and refrigerate overnight. 
  3. The next day, roll out dough onto a flour surface. Roll in 1/8" - 1/4" thickness- add more flour as necessary. Dip cookie cutters into flour and cut out cookies. Place onto ungreased cookie sheet. Bake at 350° for 8 - 10 minutes. Carefully remove from cookie sheets and place on wire rack to cool.

for the sour cream frosting

Ingredients

  • 1/2 cup sour cream
  • 3 1/2 cups powdered sugar
  • 1 teaspoon vanilla

Directions
Beat all ingredients together until smooth. Use food coloring to dye and frost cookies as desired.

Saturday, December 7, 2013

Apple Kuchen

This kuchen is just beautiful. And it tastes delicious. It is so soft and flakey, it practically melts in your mouth. The cream on top just puts it over the top. I really would expect no less from The French Laundry. I still regret not planning far enough in advance for our honeymoon and missing a chance to eat there!


I wish I had some more right now. I am just drooling remembering the deliciousness.


Really though, do yourself a favor and MAKE THIS KUCHEN!

apple kuchen with hot cream sauce
for the cake

Ingredients
6 tablespoons unsalted butter, room temperature, plus more for pan
3/4 cup granulated sugar
1 egg
1 1/2 cups all-purpose flour
2 teaspoons baking powder
1/4 teaspoon kosher salt
1/4 teaspoon ground nutmeg
1/2 cup milk or light cream
2 to 3 apples
Cinnamon sugar (optional; mix 1 tablespoon sugar with 1/4 teaspoon cinnamon)
Powdered sugar, for sprinkling (optional)

Directions

  1. Preheat oven to 350°F. Butter a 9-inch round spring form pan. 
  2. Beat butter, sugar, and egg until mixture is fluffy and lightened in texture, about 2-4 minutes.
  3. In a separate bowl, combine flour, baking powder, salt and nutmeg. Add dry ingredients and milk alternately to creamed butter mixture. Do not overbeat. Mix until just combined.
  4. Peel and core apples. Slice into 1/4-inch wedges.
  5. Spoon batter into pan and level with offset spatula.
  6. Press apple slices, core side down, into the batter, about 1/4-inch apart. Work the apple slices in a circular pattern, like the spokes of a wheel.
  7. Sprinkle cake with cinnamon sugar, if desired.
  8. Bake 35 to 40 minutes, or until cake tester inserted into center comes out clean. Set on rack to cool.

for the hot cream sauce

Ingredients
2 cups heavy cream
1/2 cup granulated sugar
8 tablespoons unsalted butter 

Directions

  1. Combine cream, sugar, and butter in medium saucepan and bring to a boil. Then, immediately reduce heat (to prevent scorching) and let simmer 5 to 8 minutes until slightly thickened. 
  2. Sprinkle warm kuchen with powdered sugar (if desired) and pour hot cream sauce over kuchen.

Thursday, November 28, 2013

Turkey Cake Balls


Happy Thanksgiving everyone! In honor of the delicious turkey we eat on Thanksgiving day, I decided to make dessert turkey-themed as well with these turkey cake balls! What makes them cake balls versus cake pops is simply the lack of a stick.

For those who the mere mention of cake pops or cake balls send a fear down their spine, I'm telling you, it is not needed. Plus, even if they look a little deformed no one will really care. When it's cake and frosting dipped in chocolate, looks don't really matter.

I will one day make a a cake pop tutorial of my own but for now, a great reference is the inventor of the delectable treats- Bakerella. If you follow the link it will show you how to make red velvet cake balls, but for these I made chocolate cake balls. You can really make whatever type of cake you want! 

Once the cake balls are covered in chocolate and dry, you will want to dip the bottom of either a whopper or chocolate covered coffee bean into some melted chocolate. Then, while the chocolate is still wet, attach it to the top of the cake ball, placing it a little off center (this will be the head). Then, one by one, dip 3-4 pieces of candy corn into the melted chocolate and attach them to the the opposite side of the cake ball for the "feathers." For the beak you will need peanut butter chips (or butterscotch chips). Attach them to the "head" using a small amount of melted chocolate. The waddle is made from candy hearts also attached by a small amount of chocolate (chocolate really works like glue when it comes to decorating cake balls). I used edible food markers to make the eyes, but if you don't have those you can use a couple dabs of icing or couple dots of melted chocolate (in any other color than brown). And that's it! It helps if you have someone around to give you a hand (like a wonderful sister who may or may not have been guilted into helping) and do things in an assembly line fashion.

Turkeys on parade!

I hope you all have a wonderful Thanksgiving!

Sunday, November 24, 2013

Cream Cheese-Filled Pumpkin Snickerdoodles


Who doesn't like snickerdoodles? It is a simple cookie that makes everyone smile...in between stuffing their faces because, well, let's be honest- there's no way to have just one.
Sometimes it can be dangerous to take such a traditional recipe and change it up because it is hard for even the most delicious cookie to compete with another cookie with so much personal history and nostalgia attached to it. Luckily, one bite of these and this recipe had no one even thinking about asking for regular snickerdoodles. It was able to tactfully add some fall flair to the classic cookie with the addition of pumpkin and also a cream cheese filling.

Truthfully, I could have put more of the cream cheese filling in them (I did end up with some left over), but it was my first time making them so in the beginning I went a little light on the filling, not wanting to run out. So if you give these a try, keep in mind, it's okay to be generous with the filling; just make sure it is fully covered by cookie before baking!

cream cheese-filled pumpkin snickerdoodles
Makes about 2 dozen cookies
{recipe from Bakeaholic Mama}

for the cookie:

Ingredients

  • 3 3/4 cups all-purpose flour
  • 1 1/2 teaspoons baking powder
  • 1/2 teaspoon salt
  • 1/2 teaspoon ground cinnamon
  • 1/4 teaspoon ground nutmeg
  • 1 cup (2 sticks) unsalted butter, room temperature
  • 1 cup granulated sugar
  • 1/2 cup light brown sugar
  • 3/4 cup pumpkin puree
  • 1 egg
  • 2 teaspoons vanilla extract

for the filling:

Ingredients
  • 1 (8 ounce) package cream cheese, softened
  • 1/4 cup granulated sugar
  • 2 teaspoons vanilla extract
for the cinnamon-sugar coating:

Ingredients
  • 1/2 cup granulated sugar
  • 1 teaspoon ground cinnamon
  • 1/2 teaspoon ground ginger
  • dash of allspice

Directions

  1. For the cookies- in a medium bowl, whisk together flour, baking powder, salt, cinnamon and nutmeg. Set aside. 
  2. In bowl of electric mixer fitted with paddle attachment, beat together butter and sugars on medium-high speed until light and fluffy, about 2-3 minutes. Blend in pumpkin puree. Beat in egg and vanilla until incorporated. With mixer on low speed, slowly add dry ingredients and mix until just incorporated. Cover and chill dough for at least 1 hour.
  3. While the dough chills, make the filling. In a small bowl, mix together the cream cheese, sugar and vanilla until smooth and creamy. Cover and chill for at least half an hour.
  4. Preheat oven to 350°F. Line baking sheets with parchment paper. In a small bowl ,mix together the sugar and spices for the coating thoroughly. Take one tablespoon of dough and flatten it into a pancake shape. Place about 1 teaspoon of cream cheese mixture in the middle of the pancake. Form another tablespoon of dough into an equally sized pancake shape and place on top, keeping the cream cheese in the middle. Gently pinch together the edges of the dough around the cream cheese to seal, then gently roll into a ball. Roll balls in cinnamon-sugar mixture to coat. Repeat with remaining dough, spaces the balls 2-3 inches apart on the baking sheets. Dip the bottom of a flat heavy-bottomed drinking glass in water to moisten slightly. Then dip it in the cinnamon-sugar mixture, and use the bottom to flatten the dough balls slightly. Recoat bottom of glass in cinnamon-sugar mixture as needed.
  5. Bake cookies for 10-15 minutes, or until they are slightly firm to the touch and tops are beginning to crackle. Let cool on baking sheets about 5 minutes, then transfer to wire rack to cool completely. 

Saturday, November 16, 2013

Apple Cobbler Cupcakes with Pumpkin Pie Frosting

Have you ever wondered what fall would taste like in a cupcake? Well, my first bite of this cupcake answered that question for me.
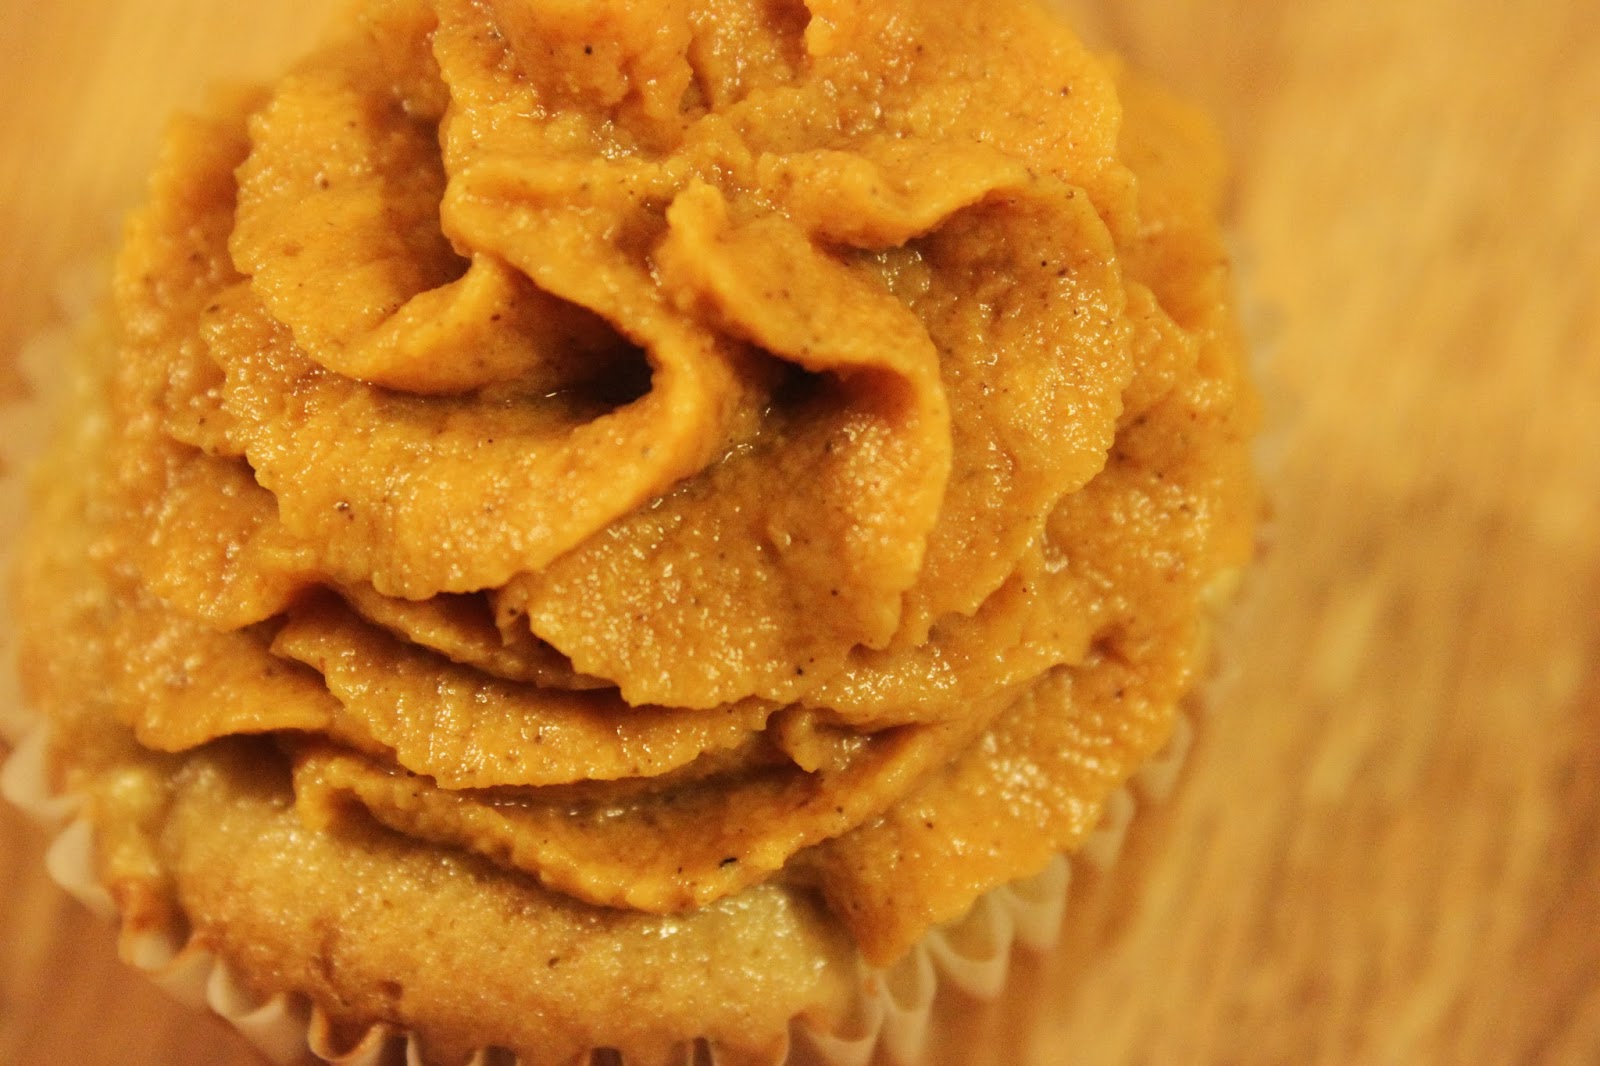
It consists of a moist apple cake and pumpkin pie frosting- and when I say pumpkin pie frosting, I mean literally pumpkin pie, as frosting. You take a pumpkin pie, lightly beat/mix it to make it smooth and even throughout, place it in a piping bag and pipe it. I mean really- there is just no better way to add pumpkin pie flavor to a cupcake. You can either make the pumpkin pie or buy a premade pie. I made mine without crust to make it easier to pipe- I just cut a piece out, blended it together a bit and then put it in a piping bag. If there is a crust on your pie, you should scoop the filling out or try blending the crust in with the filling.
mmm pumpkin pie
This cupcake is delicious even for those who don't love pumpkin pie because the apple cupcake nicely balances the pumpkin flavor, making it not so overwhelmingly pumpkin.

apple cobbler cupcakes with pumpkin pie frosting
Makes 12 cupcakes
{recipe slightly adapted from The Cupcake Project}

for the cupcake:

Ingredients
  • 1 1/2 cups all-purpose flour
  • 1 1/4 teaspoons baking powder
  • 1/4 teaspoon baking soda
  • 1/2 teaspoon ginger
  • 1/2 cup unsalted butter, room temperature
  • 3/4 cup brown sugar
  • 1/4 cup sugar
  • 2 eggs
  • 1/2 cup sour cream
  • 1/2 teaspoon lemon zest
  • 2 1/2 cups apples, roughly chopped and loosely packed
Directions
  1. In a medium bowl, whisk flour, baking powder, baking soda and ginger together. Set aside.
  2. Beat butter and sugars in a large bowl until light and fluffy.
  3. Beat in eggs, sour cream and lemon zest until blended.
  4. Gradually mix in flour mixture until just incorporated. Batter will be thick.
  5. Divide batter evenly among 12 cupcake liners (they will be filled almost all the way to the top).
  6. Bake at 350°F for about 25 minutes or until a toothpick comes out clean from the center of the cupcake. Let cool in pan for 1-2 minutes, then remove to cool completely on wire rack.
for the frosting:

Ingredients
  • 3/4 cup sugar
  • 1/2 teaspoon salt
  • 1 1/2 teaspoon pumpkin pie spice
  • 2 eggs
  • 1 (15 ounce) can pumpkin (pure pumpkin, not pumpkin pie filling)
  • 1 (12 ounce) can evaporated milk
Directions
  1. Preheat oven to 425°F.
  2. In a large bowl, beat eggs. Stir in sugar, salt and pumpkin pie spice. Mix in pumpkin then evaporated milk.
  3. Pour into 9" pie plate (no crust needed). Bake for 15 minutes. Reduce heat to 350°F and bake for another 40-50 minutes, until a toothpick comes out dry.
  4. Remove from oven and leave on counter 2 hours before use. 
  5. Once cool, cut out desired portion of pie and place in medium sized mixing bowl. Mix by hand or with electric mixer until moisture is distributed evenly and pie looks smooth throughout, about 30 seconds. Pipe onto cupcakes as desired.

Saturday, November 9, 2013

Apple Pie Cupcakes

Full swing into fall here! These cupcakes are the perfect fall treat! For those who aren't a fan of pie crust, these apple pie cupcakes are a great alternative! They truly are one of my favorite cupcakes now! The cake portion contains fresh grated apple which blends perfectly with the apple pie filling. To top them off there is a cinnamon brown sugar swiss meringue buttercream (that's a mouthful). Oh, and I did sprinkle some cinnamon sugar on top, but just a smidge.
I ended up altering the recipe, mainly because I didn't have sour cream. (I've been really bad at this planning thing lately!) Also, the apples I used were Empire, because that was what I had from apple picking and they did not disappoint!
On a side note, I really have fallen in love with my food processor. It has the capability to shred/grate (versus just demolishing things into crumbs) and after making carrot cake cupcakes and these apple pie cupcakes it has really given me a new appreciation for it!
These cupcakes would really be the perfect addition to any fall festivity!

apple pie cupcakes
Makes 24 cupcakes
{recipe adapted from The Cake Blog}

for the cupcakes:

Ingredients

  • 3 cups all-purpose flour
  • 1 cup granulated sugar
  • 1/2 cup light brown sugar
  • 2 teaspoons baking powder
  • 1/2 teaspoon baking soda
  • 1 teaspoon salt
  • 2 teaspoons ground cinnamon
  • 3 eggs
  • 1 cup vegetable oil
  • 1/4 cup plus 2 tablespoons buttermilk
  • 2 1/2 tablespoons unsalted butter
  • 2 teaspoons vanilla extract
  • 2 cups grated apples

Directions

  1. Preheat oven to 350°F and line cupcake pan with liners.
  2. In a medium bowl combine dry ingredients: flour, both sugars, baking powder, baking soda, salt and cinnamon.
  3. Using a mixer fitted with whisk attachment, whisk together eggs, vegetable oil, buttermilk, butter, and vanilla.
  4. Gradullay whisk in dry ingredients to wet ingredients until smooth.
  5. Fold in grated apples.
  6. Fill cupcake liners 2/3 full with batter. Bake for 18-20 minutes or until toothpick inserted into center comes out clean. Let cupcakes cool in pan for 5 minutes, then finish cooling on wire racks.

for the apple pie filling:

Ingredients

  • 3 apples, finely chopped
  • 1 tablespoon unsalted butter
  • 2 tablespoons light brown sugar
  • 1 teaspoon lemon juice
  • 1/4 teaspoon cinnamon

Directions

  1. Place chopped apples, butter, brown sugar, lemon juice and cinnamon in a medium-sized pan. Cook over medium heat for 8-10 minutes, until apples are tender. Stir occasionally.
  2. Allow mixture to cool.
  3. Use cone method to remove center from cupcakes and fill with cooled filling, then place cupcake top back on.


for the frosting:

Ingredients

  • 2 sticks salted butter, room temperature and cubed
  • 3 egg whites
  • 3/4 cup light brown sugar
  • 1 teaspoon vanilla extract
  • cinnamon, to taste

Directions

  1. In bowl of stand mixer, combine egg whites and brown sugar. Place over pan of simmering water and whisk continuously until sugar is dissolve and temperature on a candy thermometer reaches 150F, about 2 minutes.
  2. Attach bowl to mixer stand fitted with whisk attachment. Starting on low speed and gradually increasing to medium-high speed, whisk until mixture doubles in size and is glossy and fluffy, about 10 minutes.
  3. Change mixer to paddle attachment and add butter, one cube at a time, mixing well after each addition. Add vanilla and cinnamon to taste and mix until combined. Decorate cupcakes as desired.